數位雙生構築之溪徑開拓計畫

成功大學 | 建築學系 | 數位製造工坊 | RATs | 2023
指導老師– 沈揚庭、顏嘉慶
助教– 黃楚樺、黃廉凱、高有旻
設計者- 何沛恩、洪懷昀、曹詠行、潘中昱、廖振嘉、戴淮安
基地

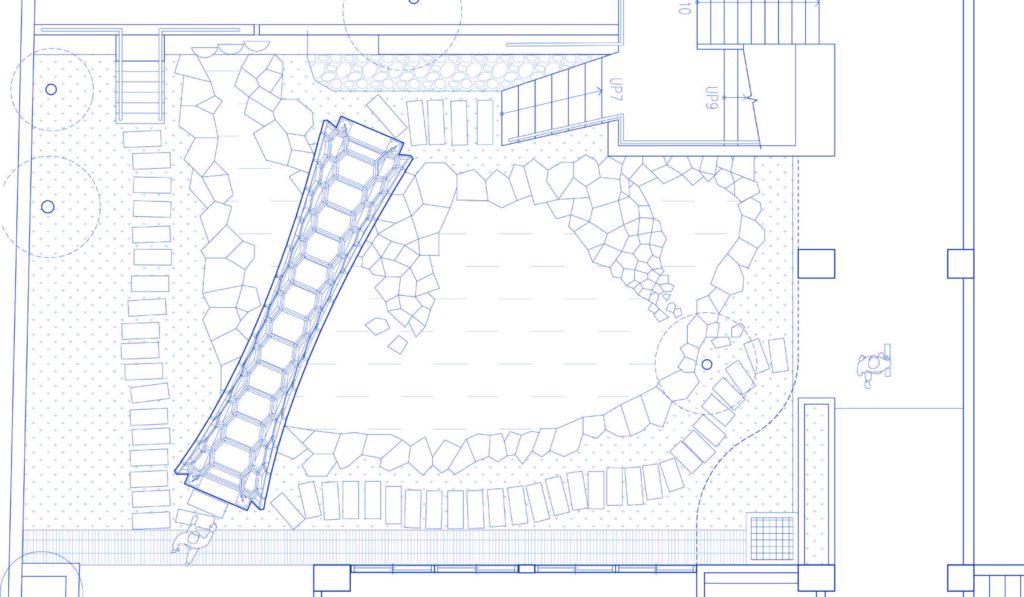
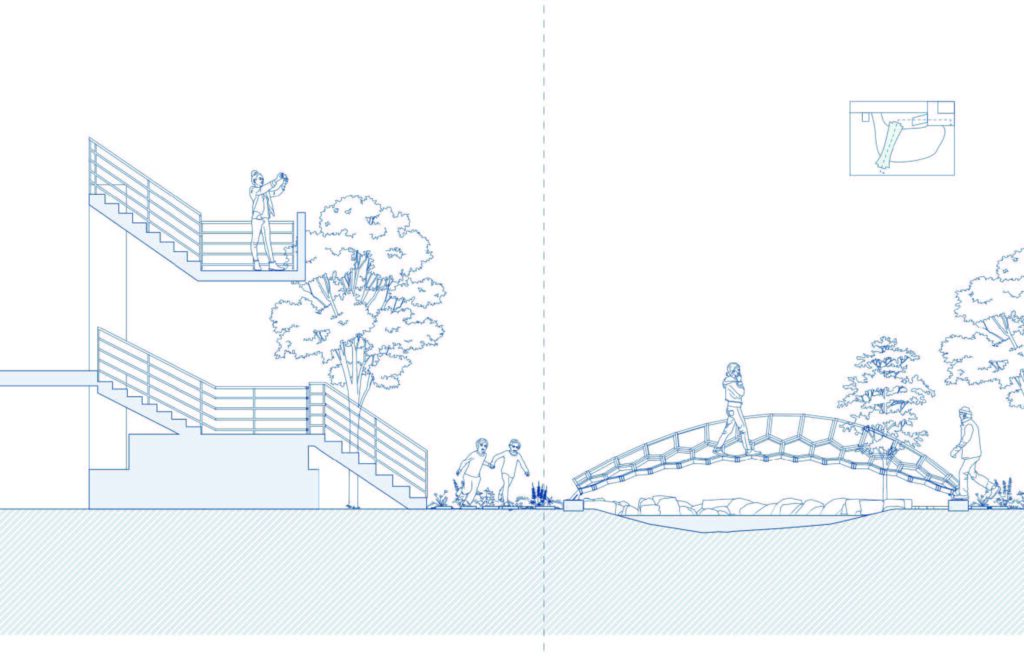
本項目的指定地點位於國立成功大學建築學系大樓之間的人工濕地。
這座生態人工濕地由建築學系的林獻德教授設計,作為位於兩座主要建築物之間的綠地空間。它連接著左右兩側的學生工作室和建築服務核心區域。
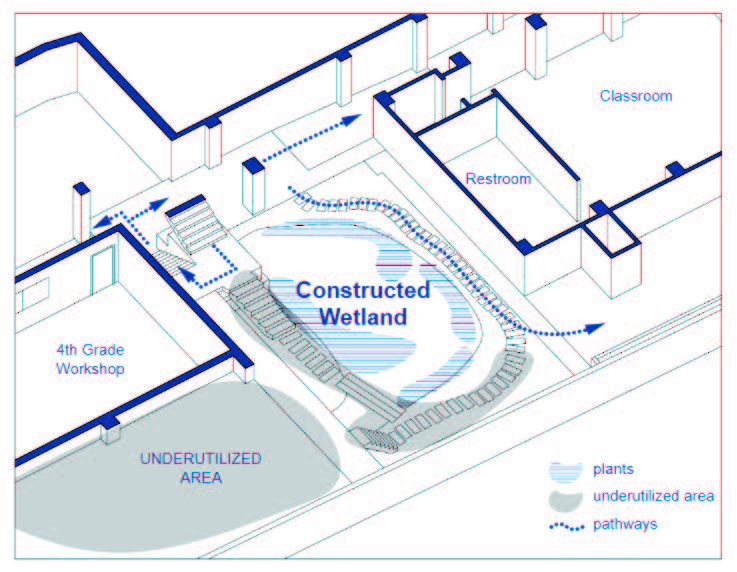
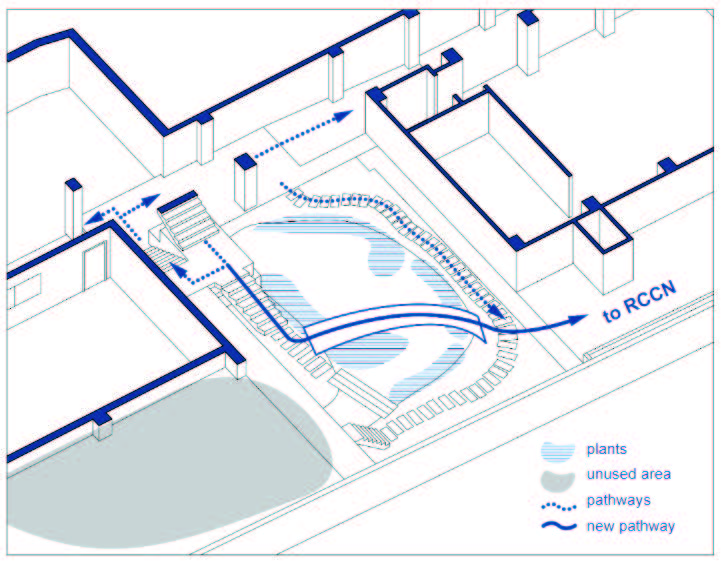
就目前場地狀況而言,存在一些未充分利用的灰色區域。現有通道的使用率相對較低,這些分散的灰色區域限制了場地上的任何建築結構可用空間。此外,生態池最獨特的特點在於豐富的高大水生植物種植,營造了生態池中多樣而茂盛的景觀。
設計過程
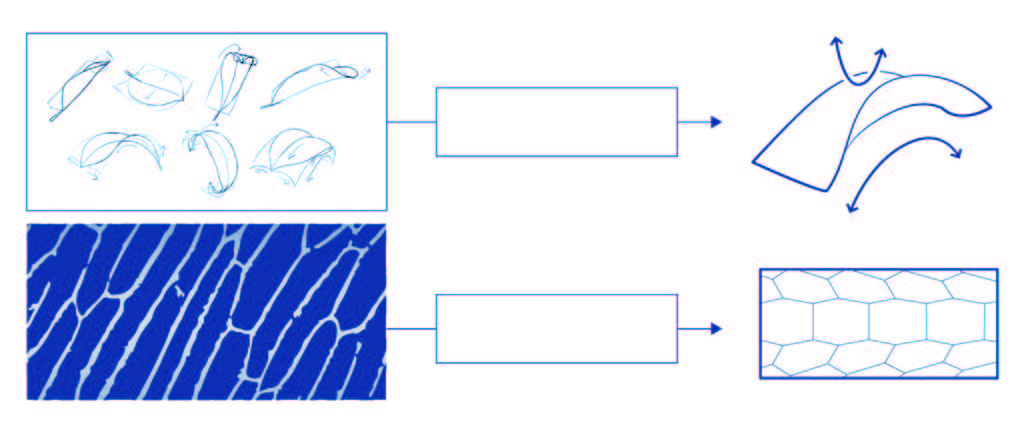
橋樑圖像
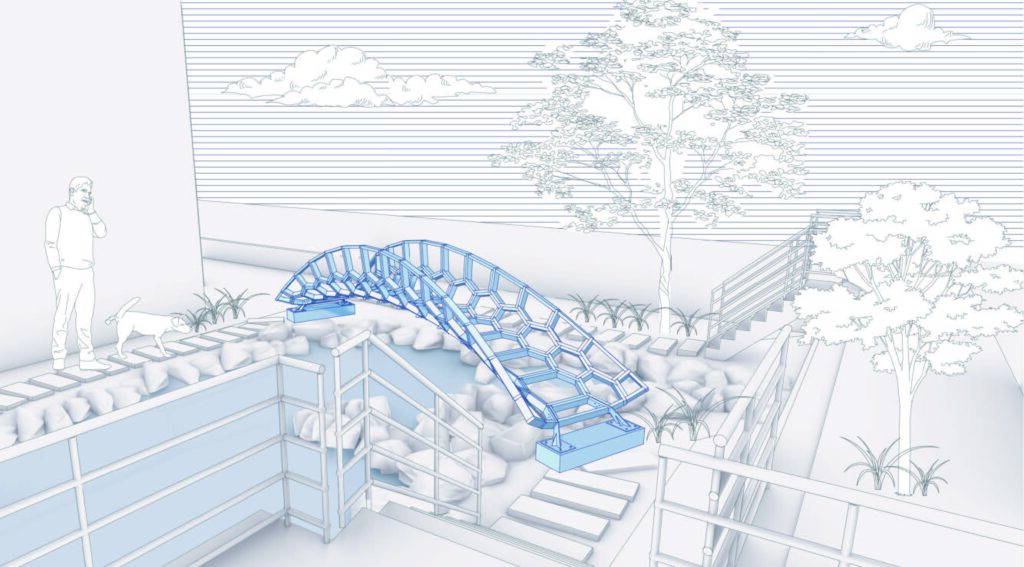
這個概念的靈感來自於人工濕地的自然紋理,以落葉的意象為起點。它漸進地演變為最原始的雙曲抛物線形狀。曲面上的圖案源於細胞結構,其中六邊形的幾何形狀。
形狀是根據參數設計並應用於表面。這件藝術品體現“落葉之脈”的本質。
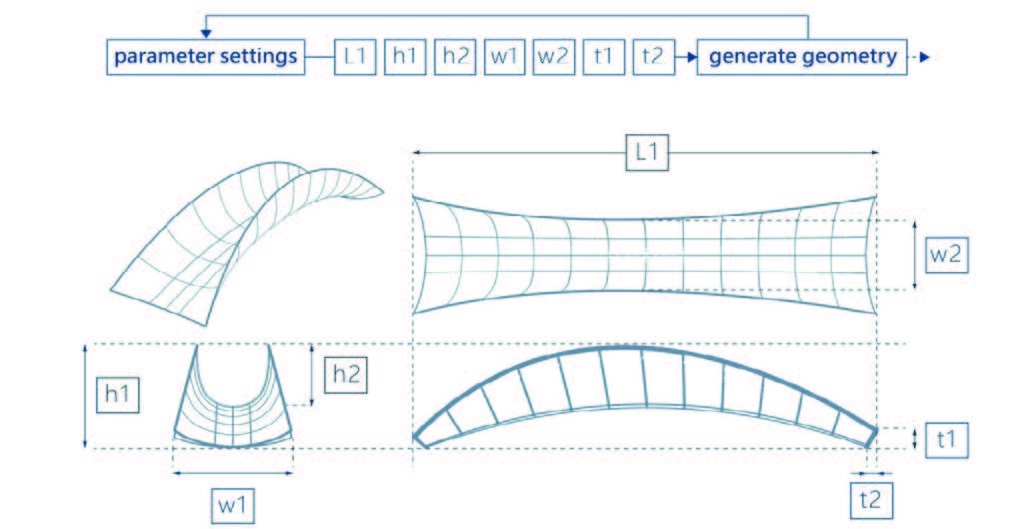
形式生成
在形狀生成過程中,我們選擇了Rhinoceros Grasshopper 作為參數化設計工具,以生成我們的橋樑。通過數位輔助,我們輸入了特定的可變參數,即 L1、h1、h2、w1、w2、t1 和 t2,以控制橋樑的長度、高度、寬度和曲率。通過計算機的運算,我們實現了最終的成果,使設計能夠靈活調整以適應場地或特定需求。
建築技術
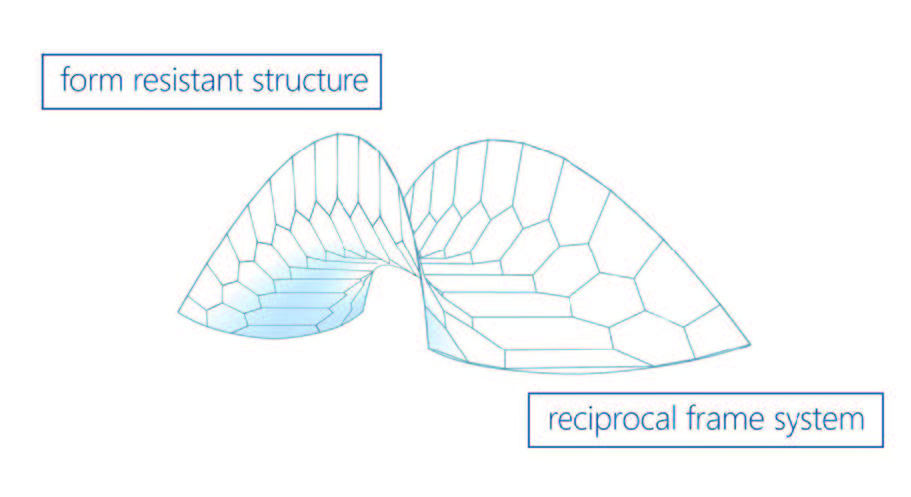
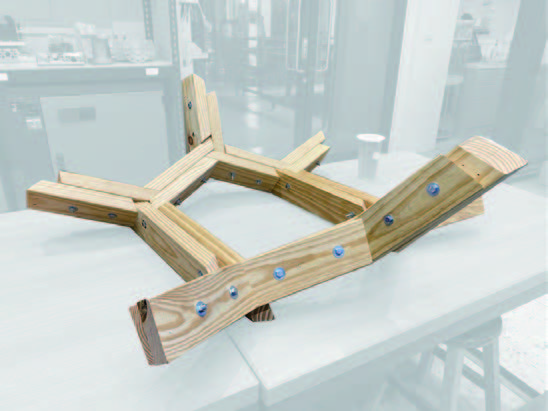
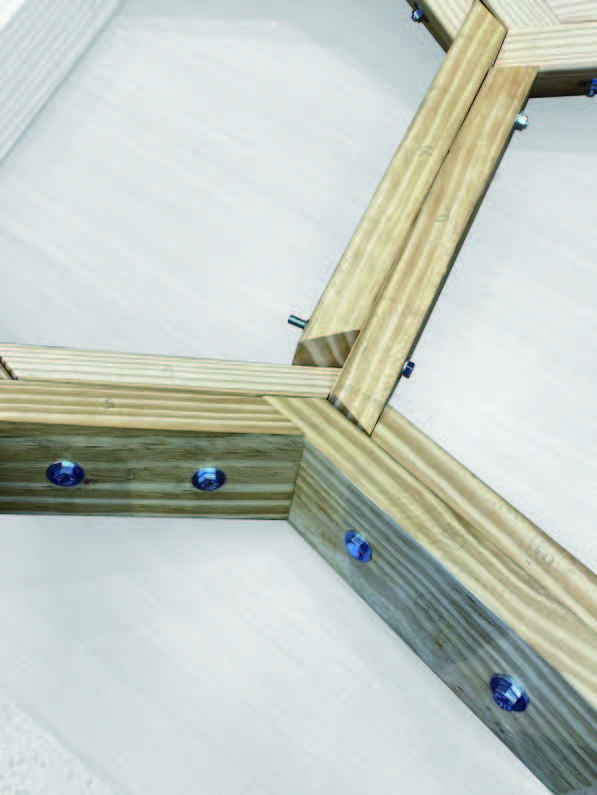
最終的設計成果是一個由六邊形圖案應用於雙曲抛物面上的複合結構。它繼承了雙曲抛物面的天生抗變形特性,當剛性連接時仍保持非可展平表面,提供結構穩定性。
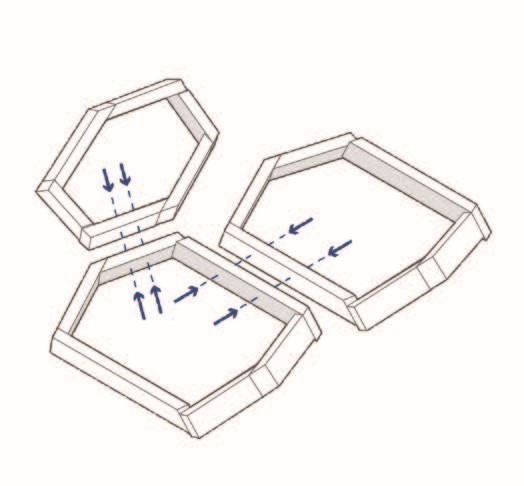
此外,我們考慮了適當的細節設計和連接方法,以賦予它互助框架系統的結構行為。透過單元之間的相互作用力,我們旨在增強橋樑的整體穩定性。

最大彎矩: 1300 kg-cm
所需承載荷重 80 kg
安全係數: 0.5
最終負載:150 kg (deformation 5cm)
我們決定對連接單元進行具體的結構測試。目標是根據單個接頭的行為來計算整個橋樑的承載能力,因此檢查並確保橋樑的穩定性。
參數化
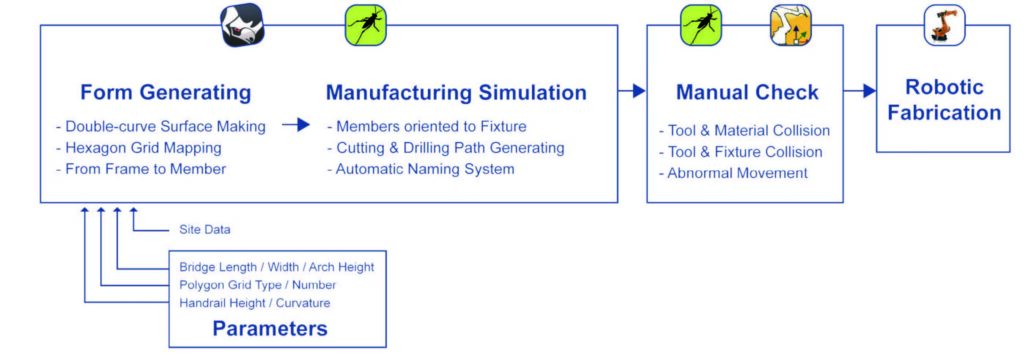
整個參數化設計過程分為三個主要部分。第一部分涉及橋樑結構設計的生成。第二部分包括模擬製造過程。第三部分涉及手動調整,最後進入機器手臂製造階段。
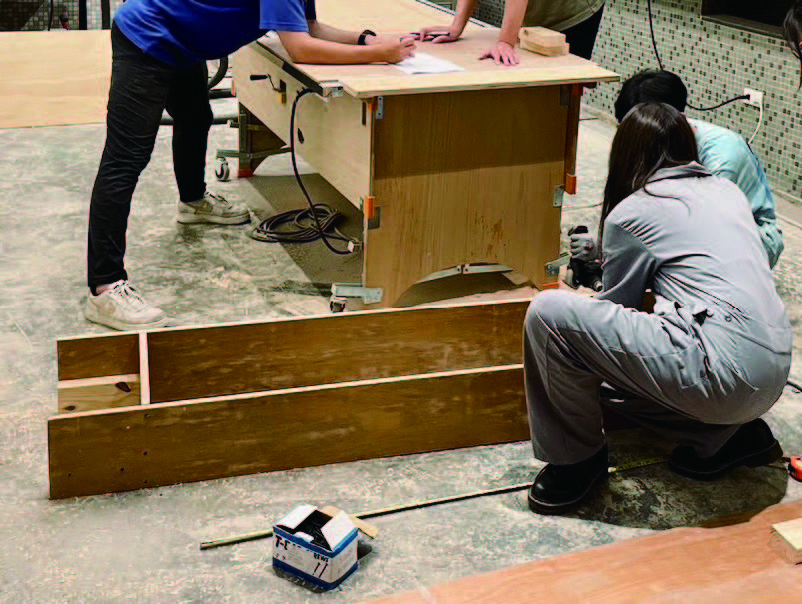
製造
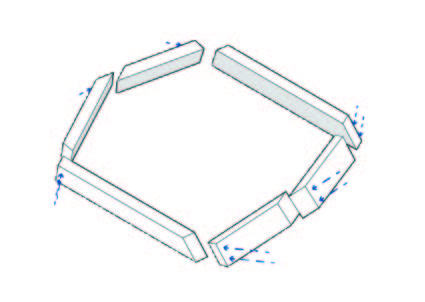
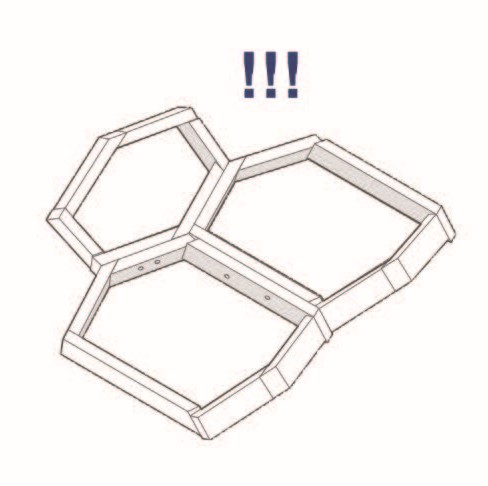
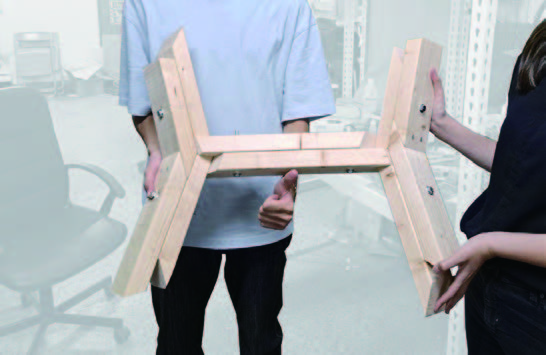
構建到單元
單元到群集
群集到整體
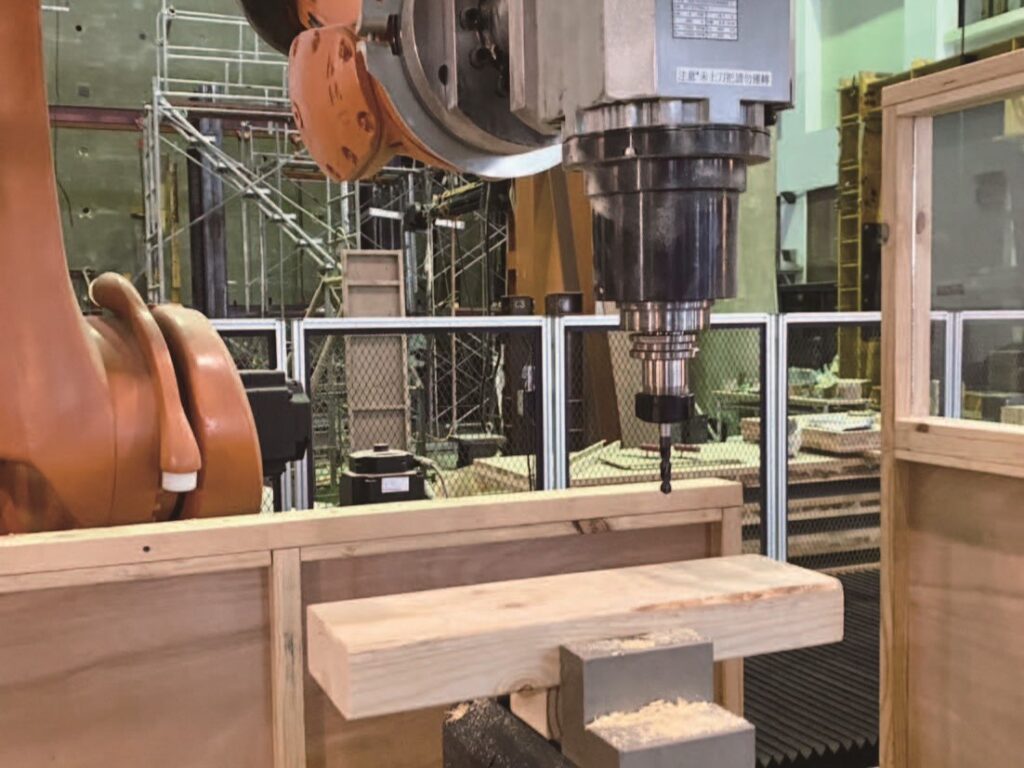
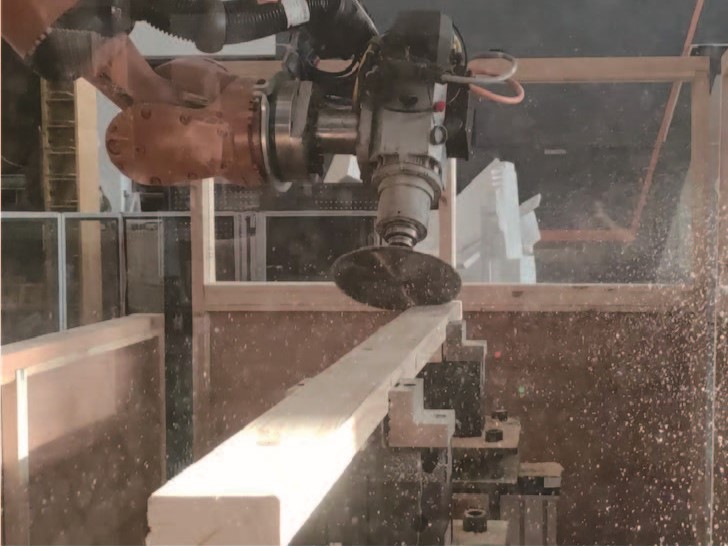
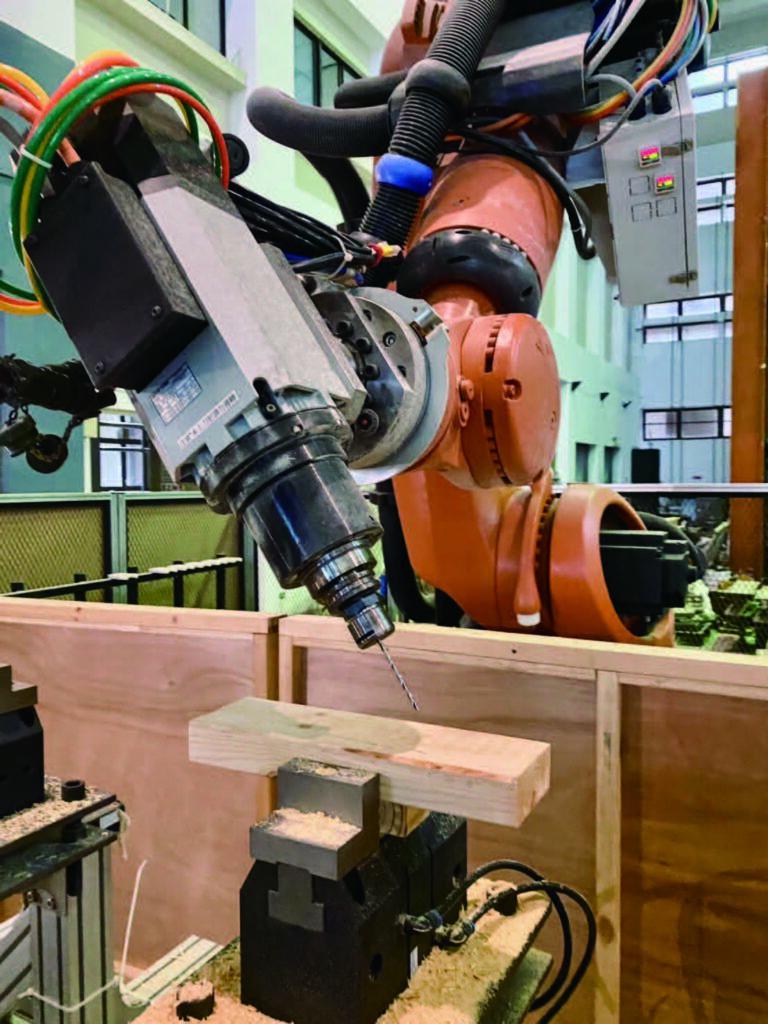
Step 01.
圓鋸切割
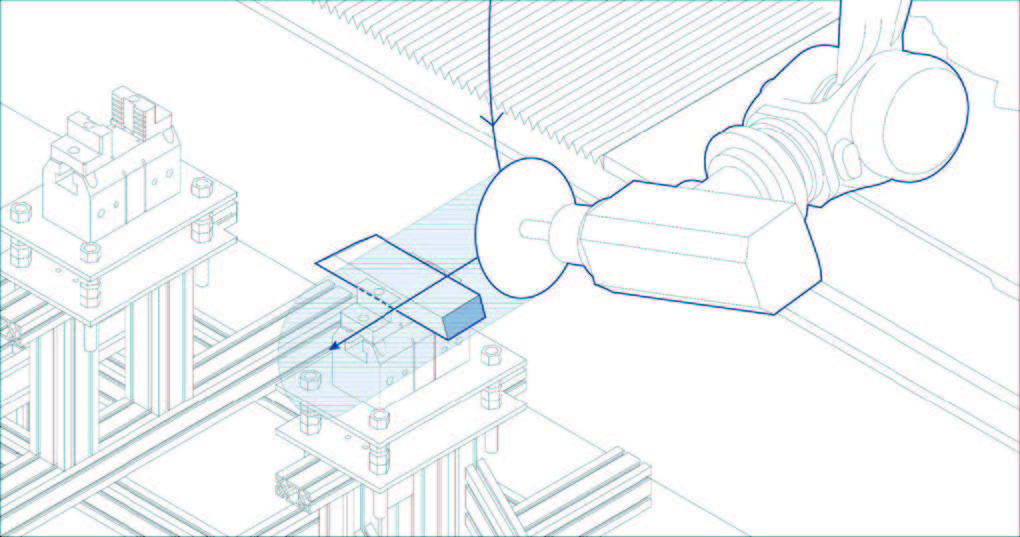
Step 02.
導孔鑽孔
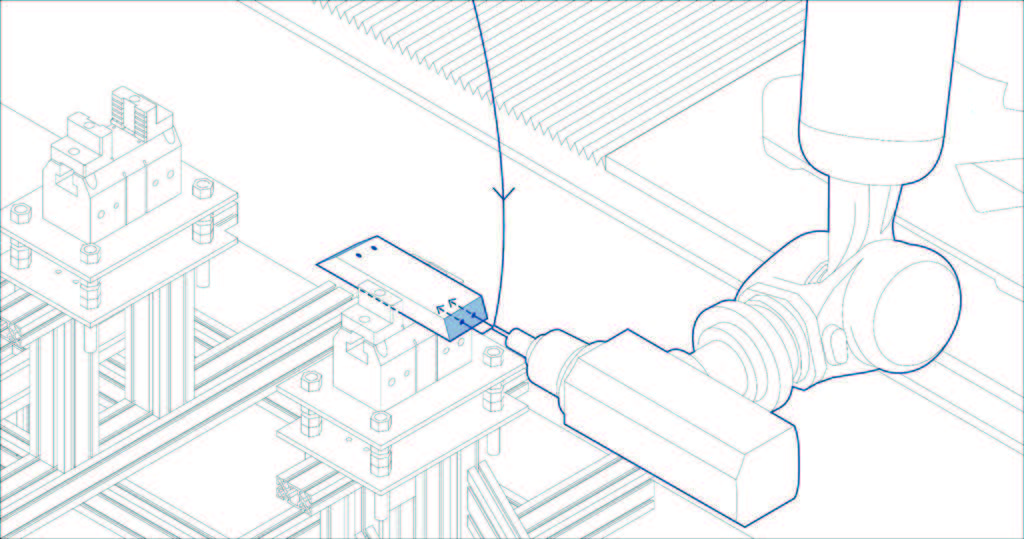
Step 03.
螺栓鑽孔

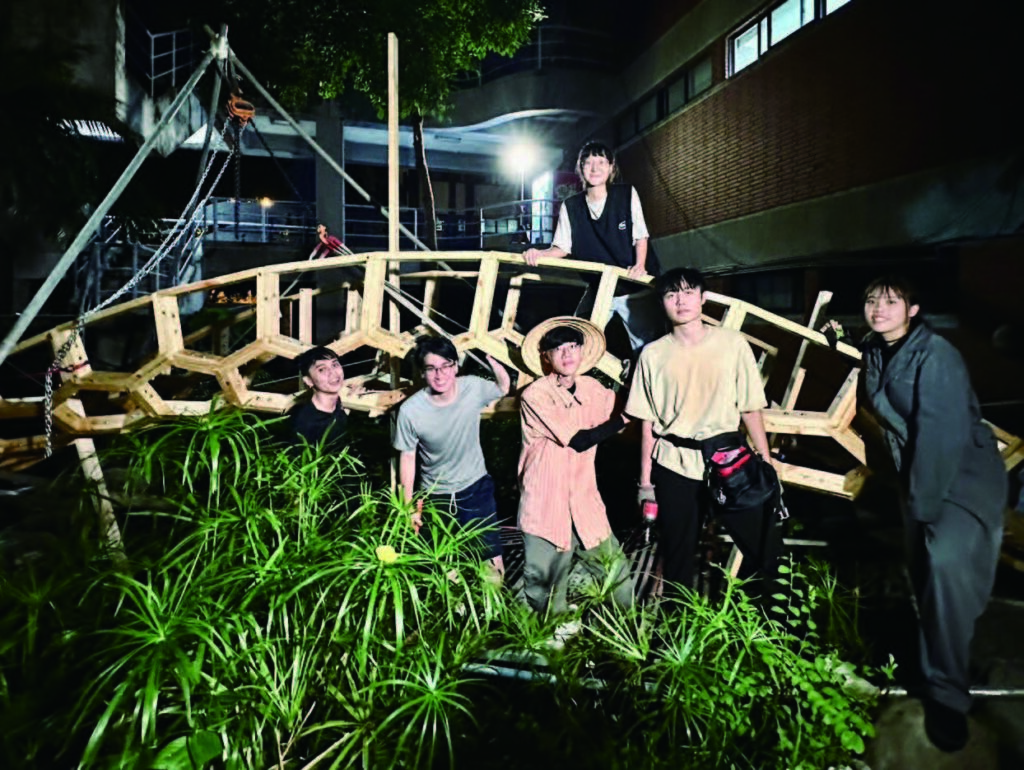
構築
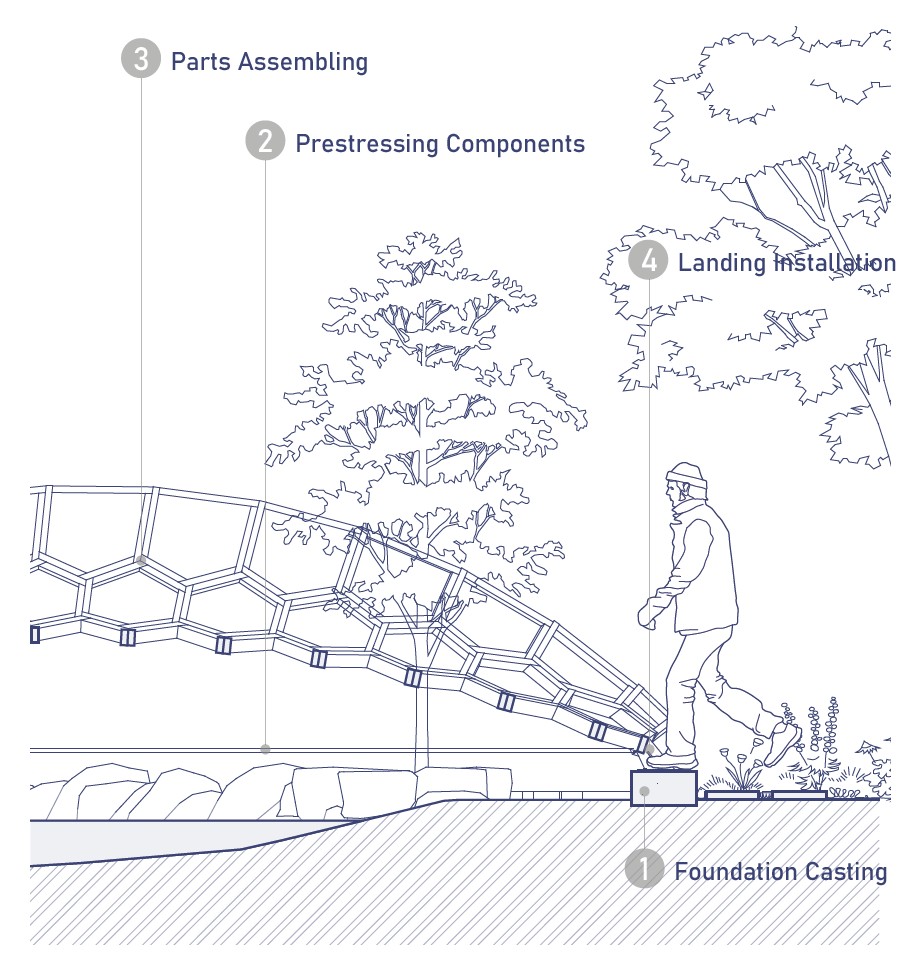
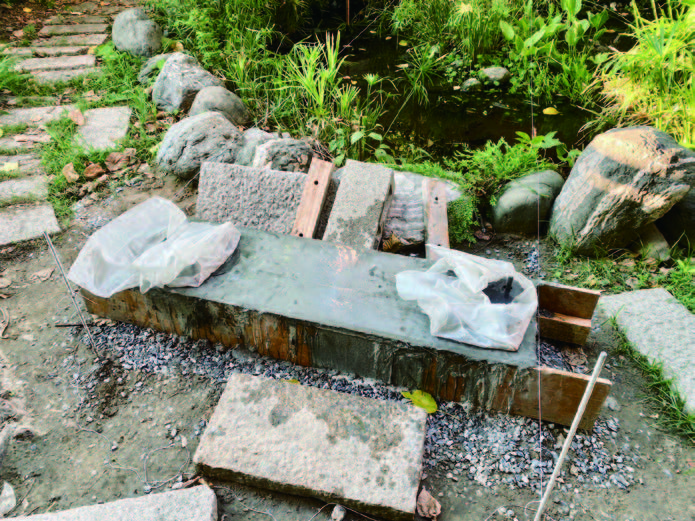
1
基礎鑄造
以承受約200公斤的自身重量和預期的實際荷載承受能力。
2
預力構建
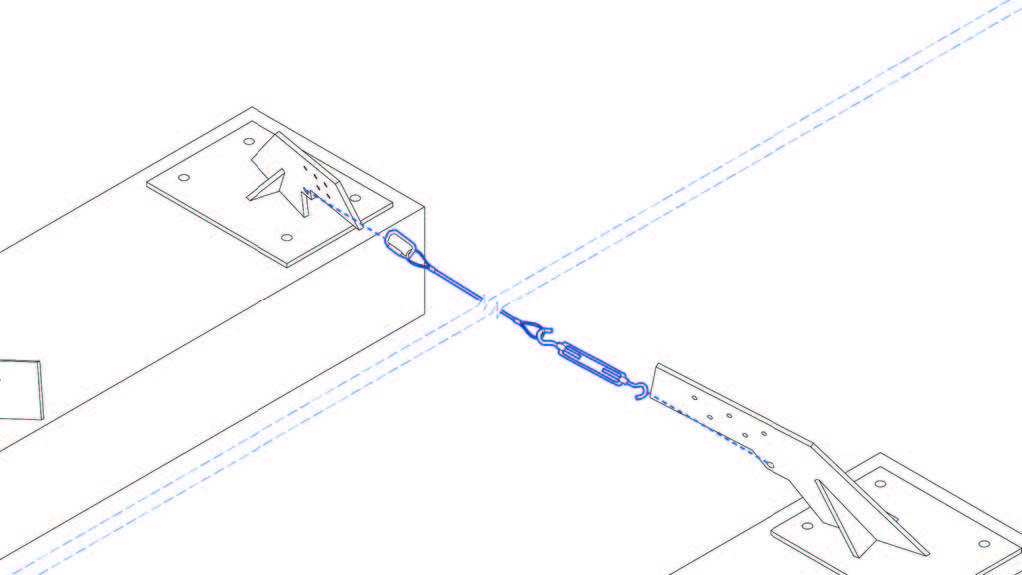
利用鋼索的拉伸強度來協助基礎抵抗向外的力量。
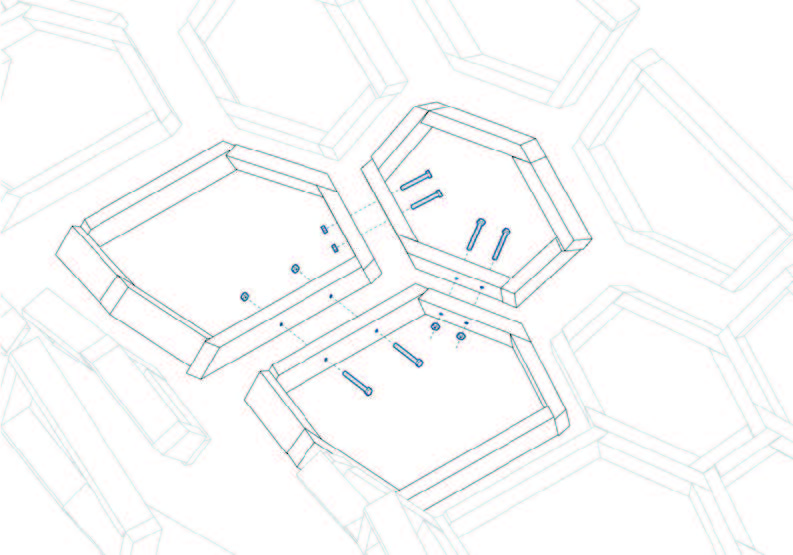
3
零件組裝
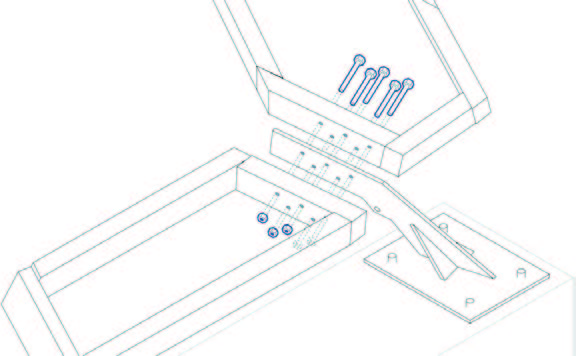
建設的順序受結構行為的影響,這也決定了吸收誤差的位置。
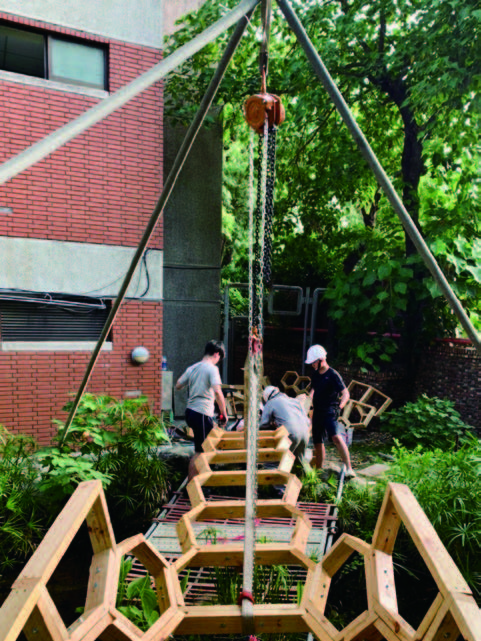
4
現場安裝
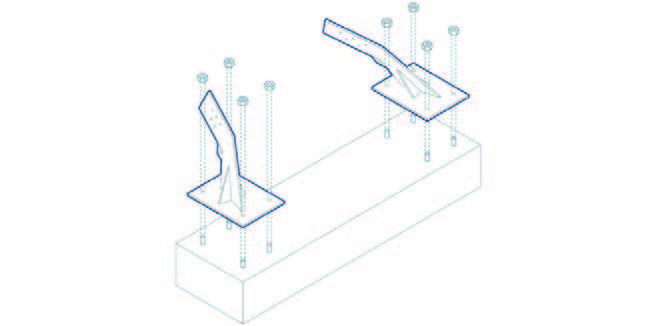
將橋樑的荷載轉移到地基,同時適應施工誤差。
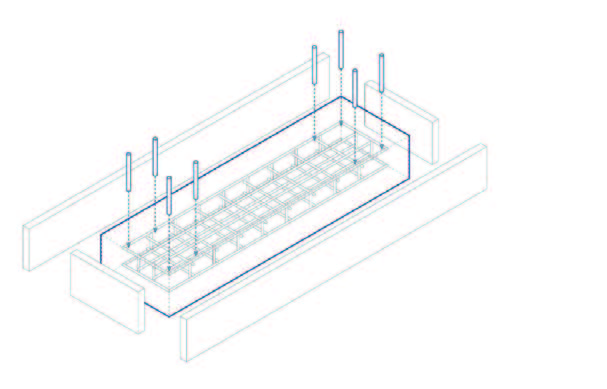
構築
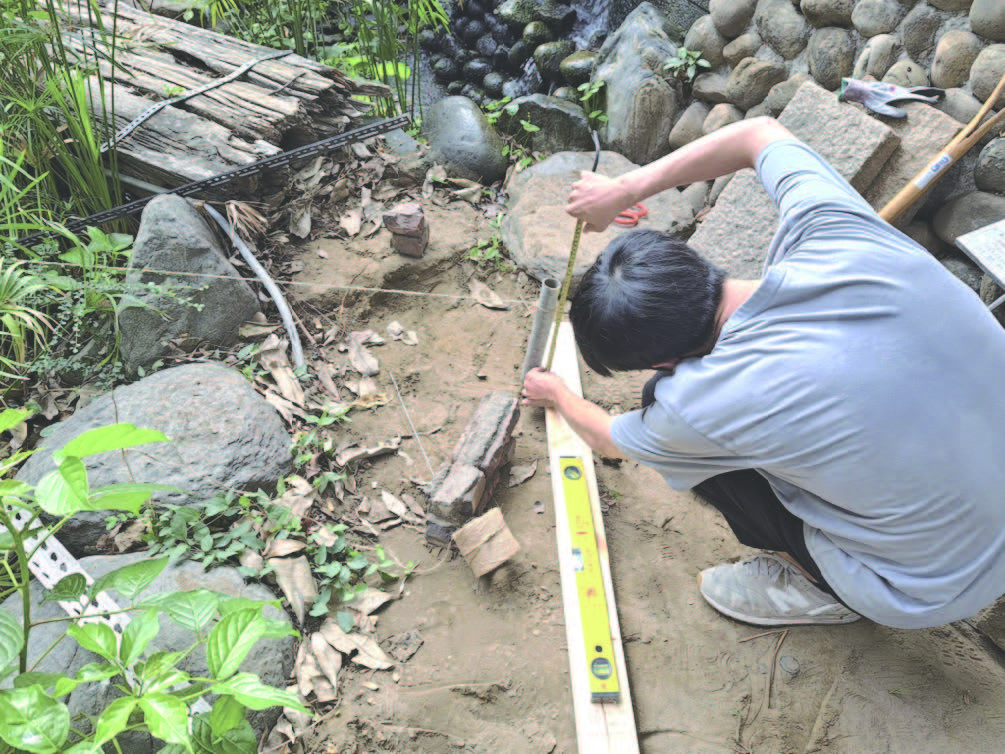
放樣
混凝土模板

鋼索安裝
現場組裝
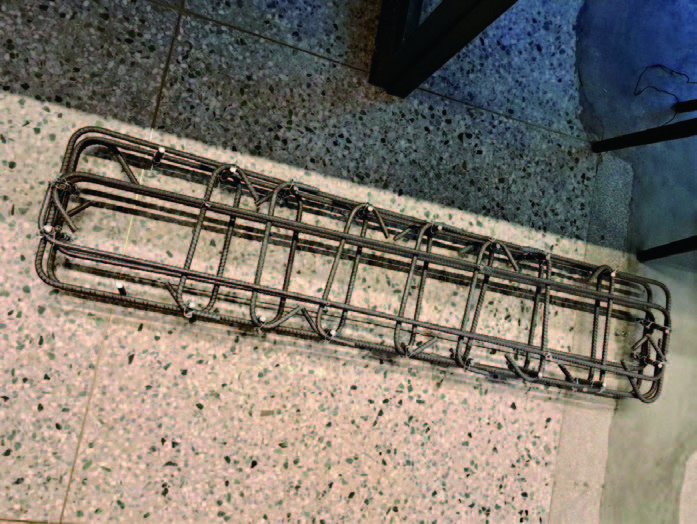
鋼筋加固
基礎澆灌
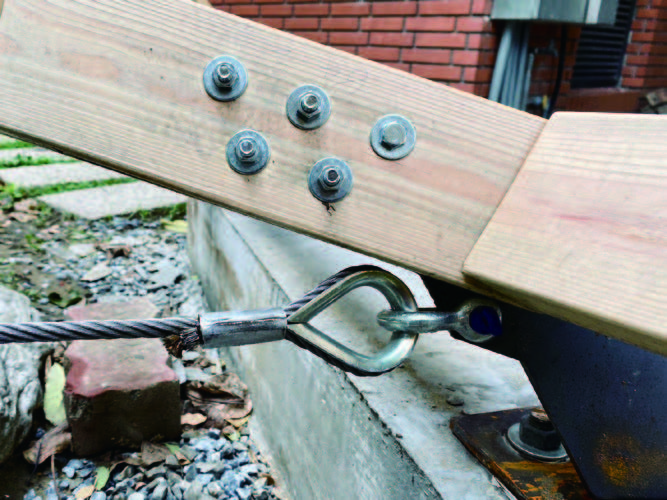
鋼索安裝
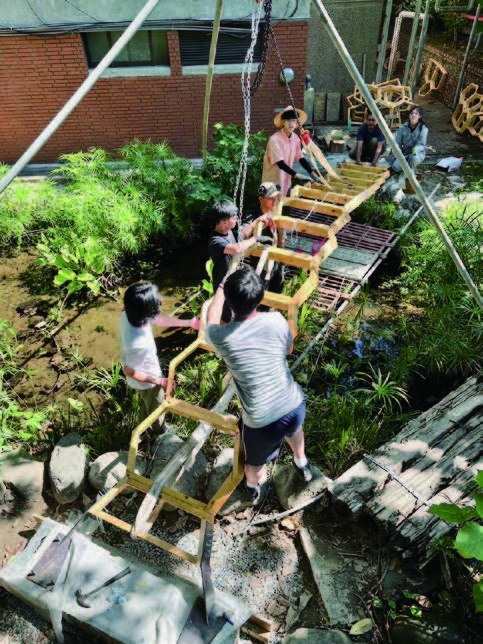
現場組裝